Forget the shiny bolt-ons and the “guaranteed” horsepower stickers. The world of bike tuning tips is full of hype and false hopes. Real performance isn’t bought; it’s engineered.
Real gains come from air, fuel, and spark. Or, in two wheels, fit, rolling resistance, and power transfer. It’s not about the loudest pipe or the flashiest air filter. It’s about making careful, data-driven adjustments.
Think of it as conducting a symphony, not just banging on drums. A proper diy-performance-tuning approach, like the one that transformed a stock engine with a Daytona TCFI III fuel controller, isn’t about magic. It’s about mapping fuel delivery with a wideband O2 sensor until the air/fuel ratio sings in perfect harmony.
We’re not polishing chrome here. We’re chasing the gains that actually move the needle. The kind that shaves seconds off a lap or gets you to the top of the hill without seeing your breakfast again. Let’s get analytical.
Suspension and geometry basics
Your bike’s suspension acts as a silent translator between you and the road. It’s not just for comfort; it’s how your bike talks to the road. If you get it wrong, you’re not riding well.
Setting up your suspension is about control, not a soft ride. It turns your input into action and the road’s feedback into useful info. Ignoring it is like debating in a language you don’t know.
The Foundation of Handling
Forget about horsepower for now. The real magic is in how the bike delivers power to the ground. Your suspension is key, controlling weight transfer and traction.
A well-tuned suspension doesn’t just absorb bumps; it manages energy. When you brake or corner, it keeps the tires on the road. Without this control, you’re not riding a precision instrument.
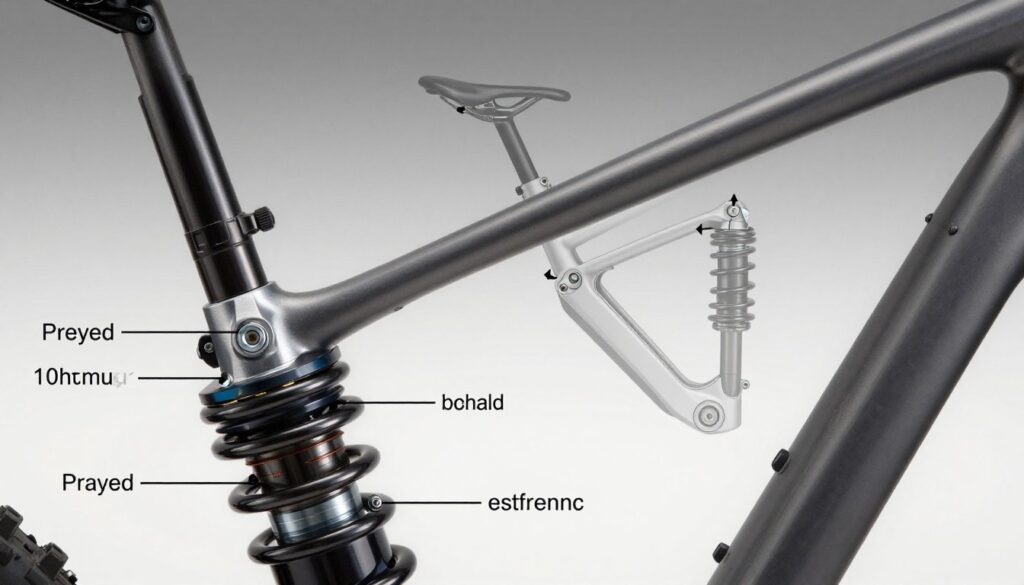
This is where the rubber meets the physics. Let’s break down the holy trinity of suspension setup:
- Preload: This isn’t about making the spring stiffer or softer. It’s like setting the foundation of a building before you put up the walls.
- Compression Damping: This controls how fast the suspension compresses. Too soft, and you’ll dive and wallow. Too hard, and you’ll feel every pebble like a hammer blow.
- Rebound Damping: This is the unsung hero. It controls how fast the suspension returns after being compressed. Too fast, and the bike will pogo-stick over bumps. Too slow, and it’ll “pack down” over successive bumps, making the ride harsh.
Mastering these three elements is the first, critical step in your performance bike setup. It’s the difference between a bike that feels like an extension of your body and one that feels like it’s actively trying to throw you off.
The Geometry of Grip
Geometry isn’t just about head angles and trail figures you find in a brochure. It’s the silent architect of your bike’s personality. A slack head angle provides stability at speed but makes the steering feel slower and heavier.
A steeper, more aggressive angle makes the bike feel twitchy and responsive. It’s the difference between a long, stable luxury sedan and a go-kart. Your suspension setup is in constant dialogue with this geometry. Get it wrong, and you’re fighting the bike’s natural tendencies. Get it right, and the bike disappears beneath you, responding to your thoughts before you’ve even finished having them.
| Suspension Setting | Effect on Handling | Ideal For | Common Mistake |
|---|---|---|---|
| High Preload, Stiff Compression | Responsive, agile, but can be harsh and skittish on rough surfaces. | Smooth track or perfect tarmac | Too much preload can make the bike feel harsh and unresponsive to small bumps. |
| Low Preload, Soft Rebound | Plush, comfortable, but can feel vague and wallow in corners. | Long-distance touring, rough roads | Can cause the bike to “pitch” under hard braking or acceleration. |
| Balanced Setup (Ideal) | Controlled, predictable, with good feedback. The bike feels “planted.” | All-around street and spirited riding | Requires careful tuning of all three elements together. |
Remember, the goal isn’t to eliminate movement, but to control it. A perfectly dialed-in suspension will make a bumpy, off-camber corner feel like a simple equation you’ve already solved. It’s not about fighting the road, but conducting it. This is the silent conversation you’re having with the asphalt. Make sure you’re speaking the right dialect.
Gearing and cadence optimization
Forget horsepower for a second. The real secret to unlocking speed might just be a math problem hidden in your drivetrain. Gearing and cadence optimization isn’t about making the bike go faster in a straight line. It’s about using your power efficiently for the terrain.
It’s the difference between a sluggish climb and a smooth surge. This is where raw power gets a translator, and that translator is your final drive ratio.
Your performance bike setup lives or dies by this translation. Get it wrong, and you’re either screaming the engine or lugging the motor. Get it right, and you’ve found the mechanical sweet spot.
The Math of Mechanical Advantage
Think of your gearing as a simple, unbreakable law of physics: it’s a trade. You can’t have maximum acceleration and a stratospheric top speed with the same gear. This is the fundamental math of mechanical advantage.
A lower final drive ratio (smaller front sprocket or larger rear sprocket) multiplies torque at the wheel. It gives you that neck-snapping, front-wheel-in-the-air acceleration. The trade-off? Your engine or your legs will be spinning much faster to achieve the same road speed, limiting your top-end velocity.
Conversely, a higher final drive (larger front sprocket or smaller rear) is like a tall overdrive gear in a car. It lets the engine or your legs spin slower for a given road speed. This is fantastic for cruising efficiency and reaching a higher top speed. The trade-off? You’ve just traded away your mechanical advantage. Acceleration and hill-climbing grunt will feel as anemic as a weak handshake.
Here’s the Goldilocks problem, distilled:
| Rider Goal | Sprocket Focus | Mechanical Effect | Performance Trade-off |
|---|---|---|---|
| Hill Climbing / Acceleration | Smaller front sprocket or larger rear sprocket for a lower final drive. | Increases torque at the wheel for better low-speed power and hill climbing. | Sacrifices top speed and may increase engine/RPM at cruising speed. |
| All-Rounder / Mixed Use | Balanced sprocket sizing, often the stock configuration. | Seeks a versatile middle ground for a mix of acceleration and top-end. | A jack-of-all-trades, master of none. The sensible choice for most. |
| Top Speed / Racing | Larger front sprocket or smaller rear sprocket for a higher final drive. | Allows for a higher top speed by lowering engine/RPM at a given road speed. | Sacrifices low-end grunt and acceleration. Requires more power to get moving. |
Sprockets, Ratios, and the Pursuit of the Perfect Cadence
This isn’t just about sprocket math; it’s about cadence. Your perfect cadence is that RPM sweet spot where you or your engine produces power most efficiently. Gearing is the tool that lets you stay in that zone.
For cyclists, this is the core of cadence efficiency. The most effective pedaling happens at a specific, personal cadence. Gearing that’s too tall forces a slow, grinding cadence. Gearing that’s too short has you spinning your legs furiously with little forward progress.
The right sprocket combination lets you maintain that ideal cadence across a wider range of speeds. It turns a grueling climb into a manageable, steady effort.
So, while the performance bike setup for a track day warrior will favor taller gearing for the main straight, a trail rider’s bike tuning tips will always lean towards lower gearing for technical, low-speed control. The “right” gearing is the one that matches your cadence to your terrain. It’s not about being the fastest in a straight line; it’s about being in the right gear to make the power you have, usable.
Tire pressure and rolling resistance
Tire pressure isn’t just a number; it’s a balance between you, your bike, and the road. Treating the sidewall’s PSI as the only answer is like trusting a horoscope for money advice. It’s vague and rarely right for you. Real bike tuning tips go beyond the manual.
The pressure you choose is a high-stakes game between grip and resistance. It’s a constant talk between your tire and the road.
The Contact Patch Conundrum
Think of your tire’s footprint on the ground. That’s the contact patch, the only thing keeping you connected to the world. This patch is key in our story.
Pump your tires to the max, and that patch gets small. Rolling resistance drops, making you fast on smooth roads. But, you’re on a thin line of grip. A slick spot or a pothole can turn a corner into a lesson in physics.
Now, let out some air. The contact patch gets bigger, like a dinner plate. This is where grip shines. The tire hugs the road, giving you traction on rough surfaces. But, rolling resistance goes up.
It’s a trade-off: smooth roads or technical descents? There’s no one “best” pressure.
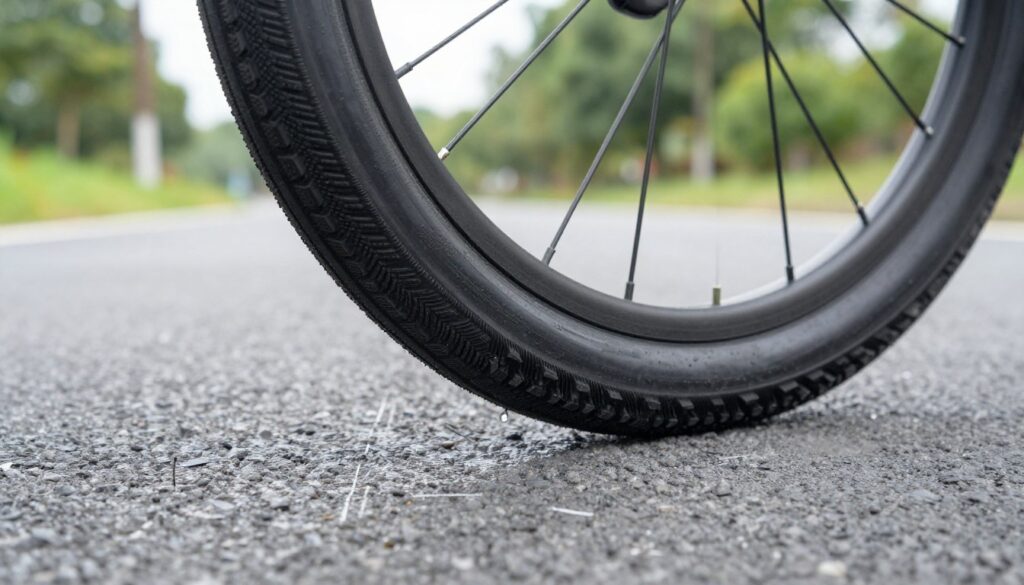
PSI shapes the tire’s personality. Too much, and you bounce off every bump. Too little, and pedaling feels like mud.
The goal is finding the “Goldilocks zone.” For a performance bike setup, adjust for your weight and road conditions. A heavier rider on a hot day needs different PSI than a lighter rider on a cold, wet morning. This is the heart of advanced bike tuning.
Consider this quick guide to the trade-offs:
| Pressure (PSI) | Contact Patch | Grip | Rolling Resistance | Best For |
|---|---|---|---|---|
| High (Max Rating) | Small, firm | Low (on rough surfaces) | Very Low | Smooth tarmac, time trials, velodromes |
| Medium (Recommended) | Balanced | High | Medium | Mixed surfaces, training, general road use |
| Low (Minimum Safe) | Large, compliant | Very High | High | Rough roads, gravel, wet conditions, traction priority |
Stop thinking in absolutes. Your perfect pressure for a smooth ride is too high for rough streets. The contact patch is your tire’s handshake with the road. Make it firm, not too tight or too loose.
For more on finding your perfect pressure, check out this guide on how to dial in your perfect tire.
Forget the quest for a single “perfect” PSI. The real bike tuning tip is to understand your tires. Listen to them. A few PSI can change a nervous ride into a confident one. It’s the cheapest, most impactful upgrade you can make.
Tracking gains from adjustments
Forget the “butt dyno.” Your backside can’t be trusted in the world of performance. The real truth is in data logs and lap times, not just how it feels.
Data Over Dogma
Performance isn’t about old tales or online rumors. It’s about facts, not feelings. Seeing the proof on a data logger is key. A comprehensive tuning guide helps you start with a solid base. It moves you from guessing to a scientific approach. This is how you switch from myths to facts.
Logging, Learning, and Iterating
Real progress is a cycle, not a single event. Begin with a clear baseline. Use nail polish to mark your suspension settings and log a control-run time. Then, change only one thing at a time.
Did that sprocket change or tire pressure adjustment make a difference? Your stopwatch will tell. A structured upgrade and tracking framework shows that the best bike tuning tips are measurable. You test one change, log the result, and learn. Then, you keep improving. This methodical way, not just feeling, is the secret to the best performance bike setup. It turns tuning into a science.