Forget the finish line. The real race is won in the weeks and days before the start gun fires. Victory isn’t just about the power in your legs on the day; it’s about the quiet, methodical work done in the garage. Think about it: race day is a performance, and your bike is your instrument. No one expects a symphony from an untuned piano.
Think of your race bike maintenance not as a chore, but as a dialogue. Your bike speaks, if you know how to listen. A subtle creak, a slight rub, a chain that’s a bit too “talkative”—these are the whispers of a mechanical problem before it becomes a race-day shout. The philosophy isn’t to fix what breaks, but to prevent the break before it happens.
This is where the pre race bike check moves from a chore to a ritual. It’s the difference between being a mechanic and a pilot. The mechanic reacts; the pilot has a checklist. A proper pre-ride ritual, like the A-B-C-M (Air, Brakes, Chain, and the full mechanical once-over), isn’t just a suggestion—it’s your pre-flight checklist for your carbon-fiber bird. It transforms you from a reactive grease monkey into a proactive pilot, ensuring every bolt, link, and cable is mission-ready.
This process isn’t about avoiding disaster; it’s about engineering confidence. Reliability isn’t found in a last-minute panic. It’s engineered in the quiet, methodical bike race maintenance you perform in your garage. That reliability is what lets you stand on the start line, calm and confident, because you’ve already won the most important battle: the one against the unknown.
Pre-race inspection checklist
Your race is won or lost in the 120 seconds before you start. It’s not just a quick look. It’s a detailed check that turns your bike into a reliable partner. Follow the pre-ride inspection checklist to start your race on the right foot.
The A-B-C-M Method: Your Pre-Ride Mantra
Forget the mental checklist. Use the A-B-C-M method instead. It’s easy to remember and covers everything you need to check.
A is for Air. Check the tire pressure, not just if they’re inflated. The right pressure is key for performance. Too little and you lose power, too much and you lose grip.
B is for Brakes. Make sure they work well. They should stop the wheel firmly without any weird sounds. Check the pads too. If they’re almost gone, replace them.
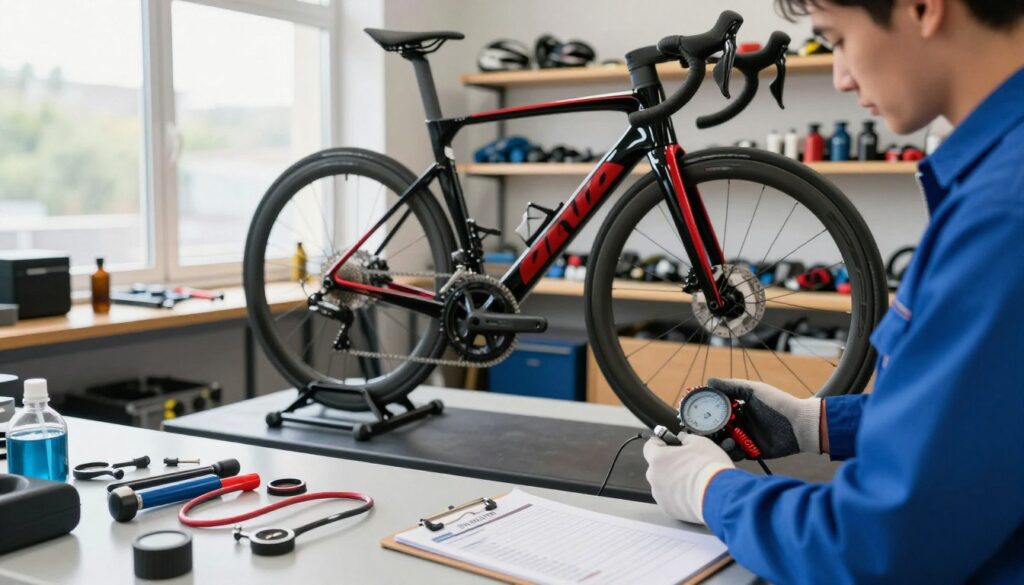
C is for Chain. This is a sign of your bike’s health. It should be clean and well-lubricated. If it’s stretched, it’s time for a new one.
M is for the M-Check. This is a quick visual check. Look for any damage or loose parts. It’s a fast way to spot problems.
The 2-Minute Pre-Flight Check
After the A-B-C-M, do a quick test ride. Shift gears, check for brake drag, and listen for any unusual sounds. A quiet bike is a happy bike.
This isn’t just bike maintenance; it’s about being ready to race. The competitive cyclist’s edge comes from being prepared. Use simple tools to ensure your bike is ready for the race.
Drivetrain wear and replacement intervals
Your drivetrain wears out slowly, like a circulatory system. A single worn link can disrupt the whole system. Neglecting it can harm your race-day performance.
A bad drivetrain loses power and causes chain-skip at the worst times. This turns your pre race bike check into a frantic scramble.
The Chain: Your Drivetrain’s Canary in the Coal Mine
Your chain is the first to show signs of wear. It doesn’t stretch like rubber; the inside parts wear down. This is your early warning.
A chain checker tool helps measure wear. If it’s at 0.5% wear, you’re running out of time. At 0.75%, it’s time to replace it.
Replacing a chain is a numbers game. A well-kept chain lasts 1,200 to 2,500 miles. But, riding in grit and grime shortens its life.
Letting a chain wear too long is costly. You might save $40 now, but you’ll spend $200 later. It’s a bad loan.
The cassette and chainrings are also important. A worn chain on new cogs leads to skipping. The “shark fin” symptom is a sign of serious wear.
This is like compound interest on a bad debt. A worn chain wears out the cassette faster. Soon, you’ll need to replace expensive parts.
When you see the “shark fin,” it’s time to act. Changing a cassette is a key skill. You’ll need a chain whip and a cassette lockring tool.
Removing the rear wheel and securing the chain whip are the first steps. Then, use the lockring tool to unscrew the cassette. This process is satisfying and important for a pre race bike check.
Here’s the hard truth in a simple table:
| Component | Wear Indicator | Typical Lifespan (Road, Clean) | Point of No Return |
|---|---|---|---|
| Chain | 0.5-0.75% stretch (measured with tool) | 1,200 – 2,500 miles | Chain checker reads 0.75% wear |
| Cassette | Shark-tooth profile on cogs | 2-3 chains (if replaced on time) | New chain skips on old cassette |
| Chainrings | Teeth become pointed, “shark-finned” | 2-3 cassettes | Teeth are visibly hooked or sharp |
Your pre race bike check must be thorough. Listen for skipping and feel for gritty feedback. It’s not just maintenance; it’s damage control.
Brake and tire safety checks
Speed is thrilling, but control is key. It’s not just about going fast; it’s about stopping with confidence. Your pre-race bike check must inspect brakes and tires closely.
Brakes and tires are critical for safety. They connect you to the road. A good check builds confidence in your bike’s performance.
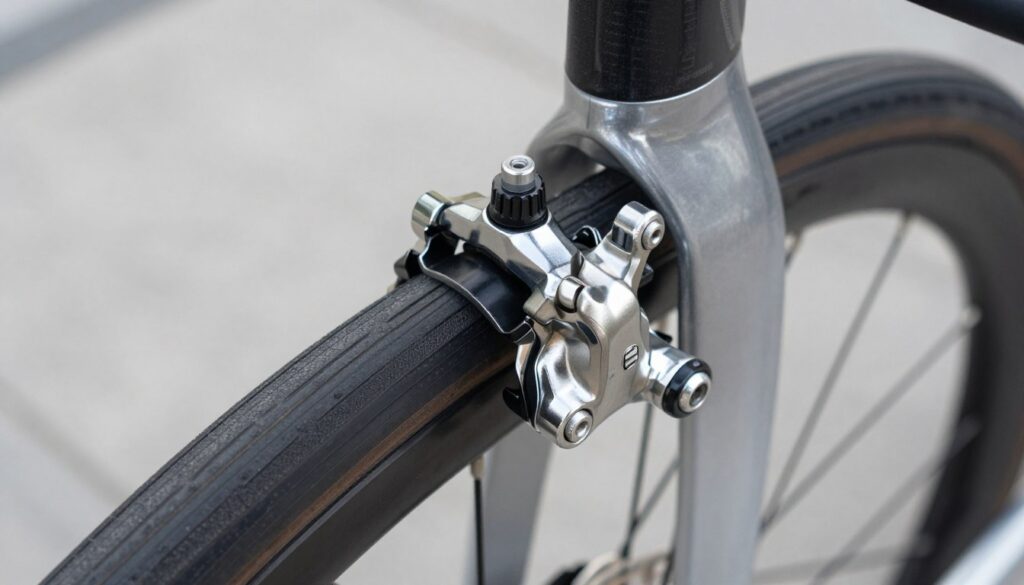
Stopping Power: More Than Just a Squeeze
Brakes talk to the road. A pre race bike check must listen. It’s not just about stopping the wheel; it’s about the feel.
A spongy or mushy lever means air in the lines. This needs a professional fix. Ignoring it worsens the problem.
For disc brakes, check the brake pad wear. The 1.5mm minimum is essential. Thinner pads risk damage and safety issues.
Inspect rotors for damage. If the wear indicator is almost gone, replace them. This is not a suggestion.
The bedding-in of new pads is a critical step. It ensures a smooth stop. Skipping this leads to poor braking performance.
The Tire: Your Only Contact Patch with Glory
Tires handle everything except stopping. They are your only touch with the road. Treating tire pressure as static is a mistake.
Pressure changes with conditions. Lower pressure grips better on wet roads, while higher pressure rolls smoother on dry ones. The “red finger test” helps detect damage.
Don’t overlook sidewall cracks. They signal a tire’s age and weakening. The “penny test” checks tread depth. A new tire is needed if you see the penny’s top.
Tire Pressure: The Goldilocks Zone
Finding the right tire pressure is a mix of science and feel. Here’s a guide for a 150 lb rider on a 25mm tire:
| Road Condition | Recommended PSI (Road Bike) | Recommended PSI (Gravel/Tubeless) | Rider Feel |
|---|---|---|---|
| Smooth, Dry Tarmac | 90 – 100 PSI | N/A | Firm, fast, low rolling resistance. |
| Wet or Rough Roads | 85 – 95 PSI | 35 – 45 PSI | More compliance, better grip on slick surfaces. |
| Cobblestones/Gravel | N/A | 25 – 40 PSI | Lower pressure absorbs shock for control and comfort. |
This is a starting point. Your ideal pressure depends on your weight, tire width, and road surface. Check pressure with a quality gauge before the race.
Your bike race maintenance is a dialogue with your machine. Listening to brakes and tires turns your bike into an extension of yourself. It’s more than maintenance; it’s a conversation with your machine.
Post-race maintenance routine
The finish line is just the start. The real challenge is after you stop pedaling. Cleaning your bike after a race is more than just tidying up. It’s a detailed check-up that ensures your bike is ready for the next race.
The 30-Minute Cool-Down for Your Bike
Don’t rush to the high-pressure washer. Start with a soft rinse to remove sweat and dirt. This gentle start is key to keeping your bike in top shape.
As you clean, remember the general maintenance protocol. Clean the drivetrain, scrub it well, and rinse. Then, re-lubricate the chain carefully. A clean, dry chain is essential for your bike’s health.
From Wipe-Down to Winterization
This isn’t just a quick clean. It’s a thorough check-up. Look for any damage or wear while you clean. This 30-minute routine helps prevent mechanical issues.
As the season ends, this routine turns into winterization. You’ll deep clean, apply protective lube, and store your bike properly. Regular maintenance is your best ally for a successful racing season.